Types of Interactions
There are different types of interactions in your app’s toolbelt that can pick and choose to build engaging, interactive experiences in Discord.Commands
Application commands provide users a native way to invoke an app in Discord. They often map to an app’s core features or functionality.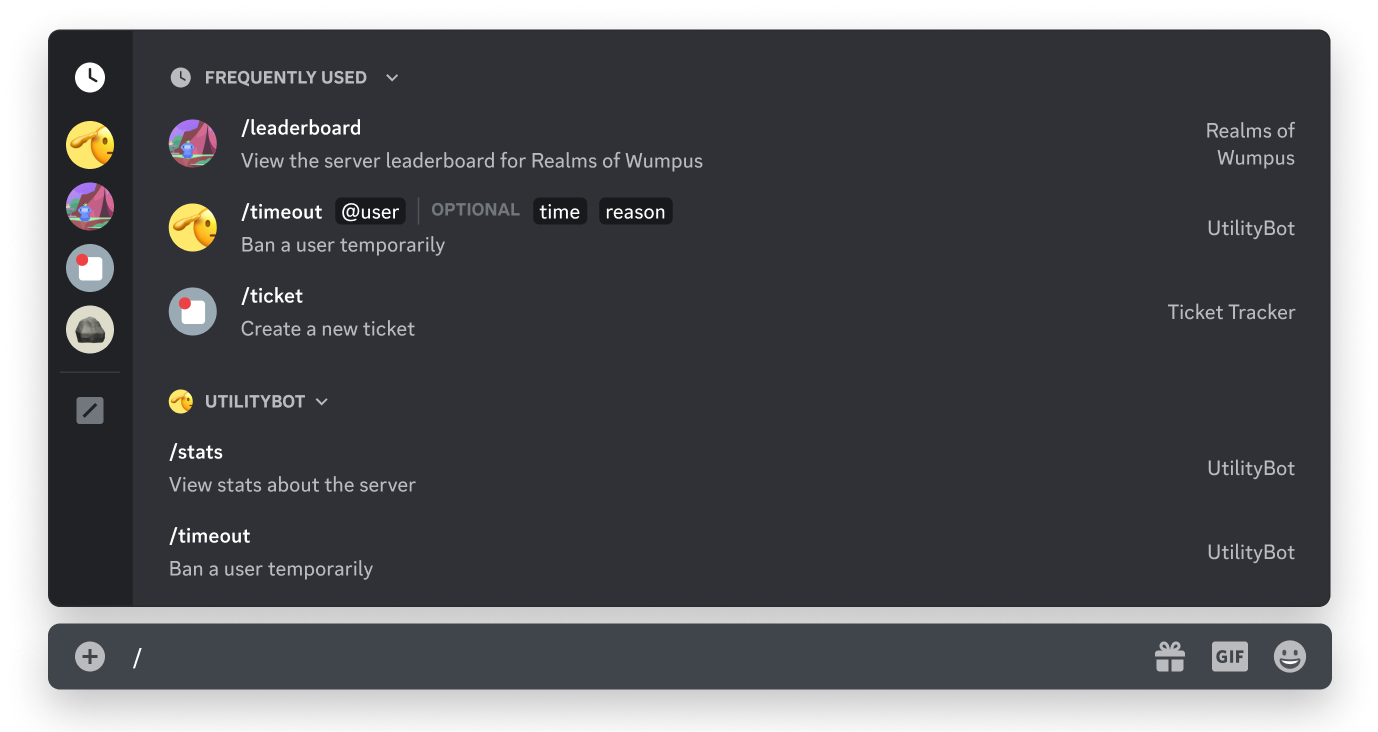
- Slash commands are the most common type of command and are accessed by typing
/in the chat input, or by opening the command picker. - Message commands are commands related to a message or a message’s content. They’re accessed by clicking on the context menu (the three dots) at the top-right of a message (or right clicking on a message), then navigating to the “Apps” section.
- User commands are commands that related to a user in Discord. They’re accessed by right clicking on a user profile, then navigating to the “Apps” section.
- Entry Point commands are commands used as the primary way to launch Activities from the App Launcher.
Message Components
Message components are interactive elements that can be included in the content of a message that your app sends in Discord.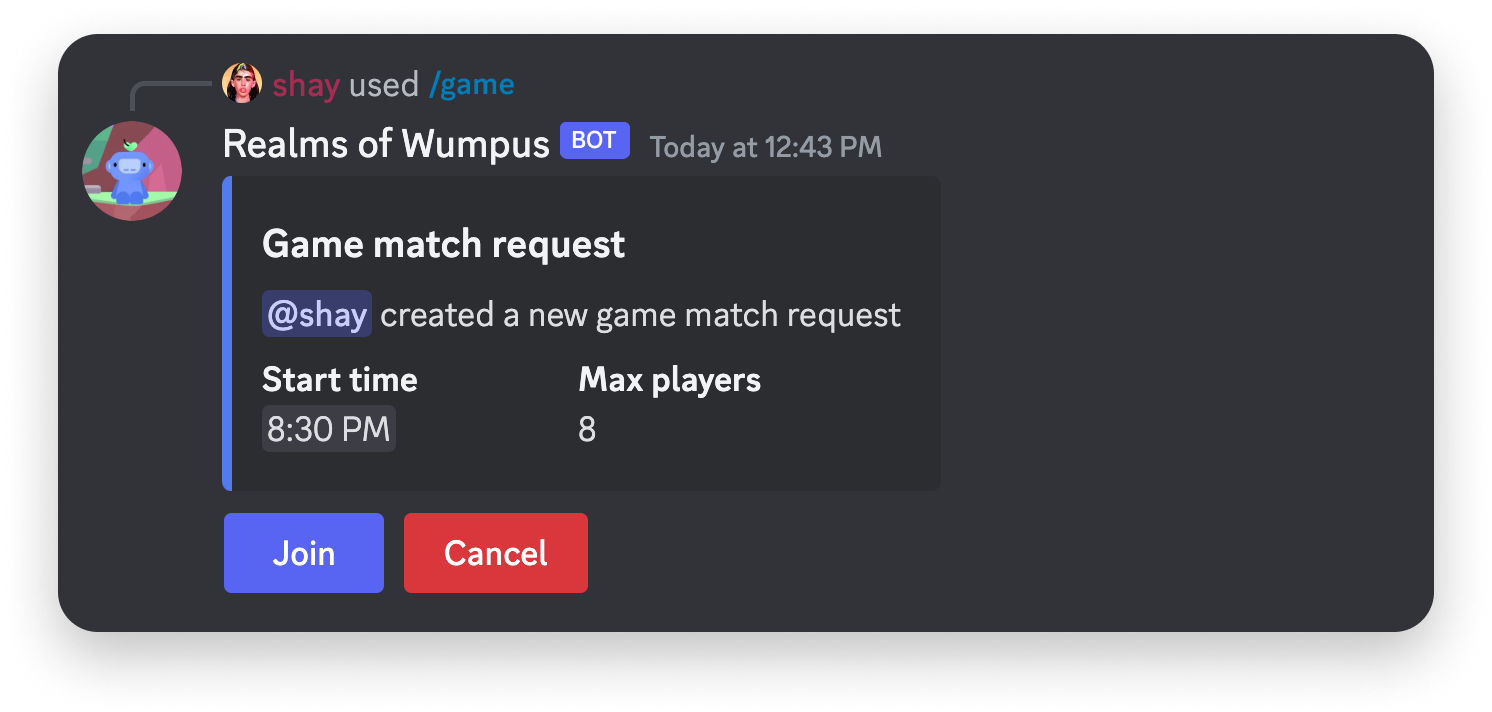
- Buttons are clickable components that can be customized with different styles, texts, and emoji.
- Static select menus are components that a user can open to see a list of developer-defined select options with custom labels and descriptions.
- Auto-populated select menus are a set of four different select components that are populated with contextual Discord resources, like a list of users or channels in a server.
Modals
Modals are single-user pop-up interfaces that allow apps to collect form-like data. Modals can only be opened in response to a user invoking one of your app’s commands or message components.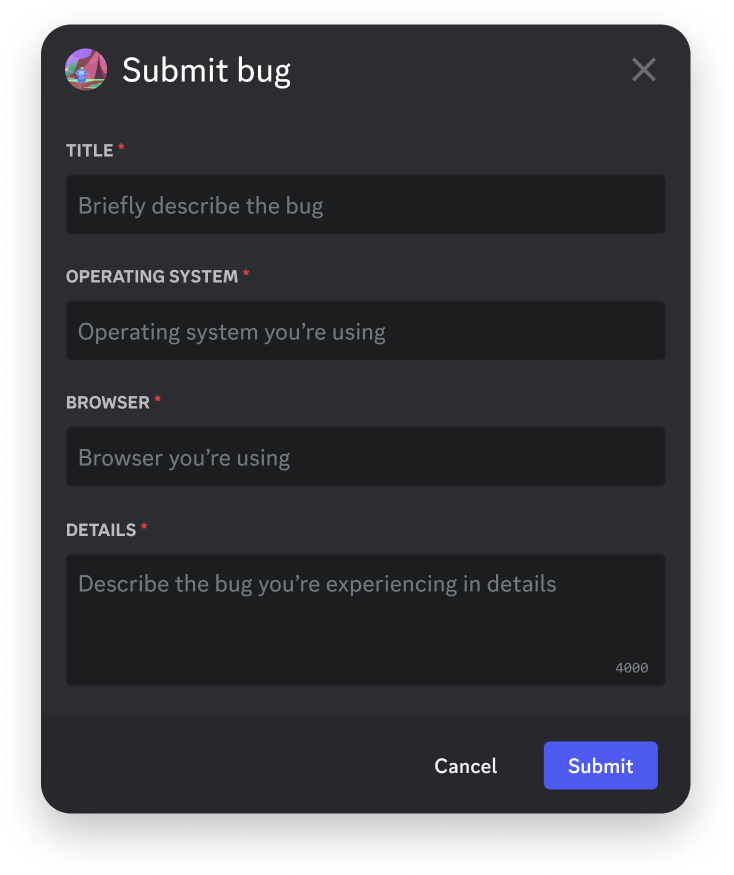
Preparing for Interactions
When a user interacts with your app, you have the option for your app to receive interactions in two mutually-exclusive ways:- WebSocket-based Gateway connection
- HTTP via outgoing webhooks
Configuring an Interactions Endpoint URL
A Interactions Endpoint URL is a public endpoint for your app where Discord can send your app HTTP-based interactions. If your app is using Gateway-based interactions, you don’t need to configure an Interactions Endpoint URL.Setting Up an Endpoint
Before you can add your Interactions Endpoint URL to your app, your endpoint must be prepared for two things ahead of time:- Acknowledging
PINGrequests from Discord - Validate security-related request headers (
X-Signature-Ed25519andX-Signature-Timestamp)
Acknowledging PING requests
When adding your Interactions Endpoint URL, Discord will send aPOST request with a PING payload with a type: 1 to your endpoint. Your app is expected to acknowledge the request by returning a 200 response with a PONG payload (which has the same type: 1). Details about interaction responses are in the Receiving and Responding documentation.
You must provide a valid
Content-Type when responding to PINGs. See here for further information.Responding to PING Requests
Code example for acknowledging PING interactions
Responding to PING Requests
Code example for acknowledging PING interactions
To properly acknowledge a
PING payload, return a 200 response with a payload of type: 1:Validating Security Request Headers
The internet is a scary place, especially for people hosting public, unauthenticated endpoints. To receive interactions via HTTP, there are some security steps you must take before your app is eligible to receive requests. Each interaction is sent with the following headers:X-Signature-Ed25519as a signatureX-Signature-Timestampas a timestamp
401 error code.
Validating Security Headers
Code example for validating security-related request headers
Validating Security Headers
Code example for validating security-related request headers
Below are some code examples that show how to validate the headers sent in interactions requests.JavaScriptPython
Adding an Interactions Endpoint URL
After you have a public endpoint to use as your app’s Interactions Endpoint URL, you can add it to your app by going to your app’s settings. On the General Overview page, look for the Interactive Endpoint URL field. Paste your public URL that is set up to acknowledgePING messages and correctly handles security-related signature headers.